DIY Tree Trimming: A Safe and Effective Approach
Taking care of your trees is an investment in your property and the environment. Proper tree trimming promotes healthy growth, enhances aesthetics, and reduces the risk of damage from falling branches.
Trimming smaller trees or addressing basic issues like deadwood removal can be a manageable DIY project. However, for larger trees, complex cuts, or situations where power lines are involved, hiring a certified arborist is crucial for safety and proper technique.
Safety First: Essential Gear and Techniques
Safety should be your top priority when tackling a DIY tree trimming project.
Here’s what you’ll need:
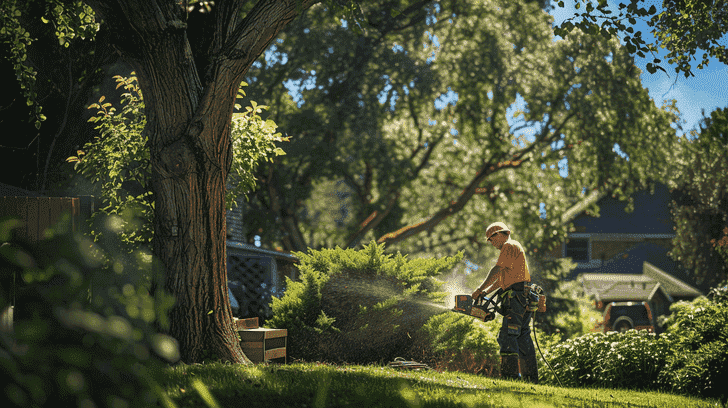
Personal Protective Equipment (PPE): Sturdy gloves protect your hands from cuts and scrapes. Safety glasses shield your eyes from falling debris. Long pants and long-sleeved shirts minimize the risk of scratches and insect bites. Sturdy shoes with good grip, ideally boots, provide stability when working on uneven terrain.
Trimming Tools: Choose the right tools for the job based on branch size. Bypass pruners are ideal for branches up to 1 inch in diameter. Lopping shears handle branches between 1-2 inches. Pruning saws tackle larger branches, and pole pruners extend your reach for high branches.
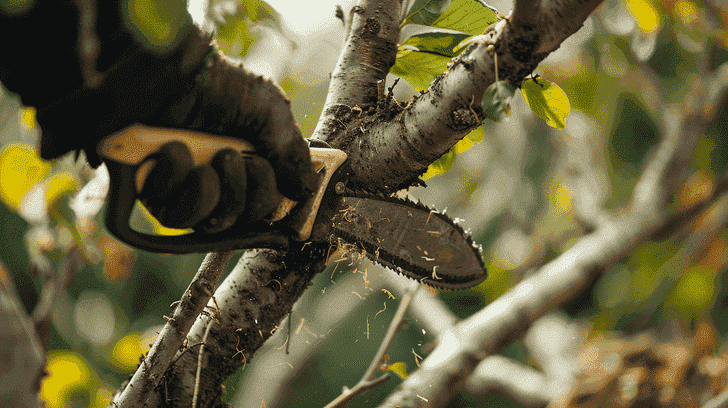
Mastering safe trimming techniques is essential. The Three-Cut Method ensures proper branch removal without damaging the tree: make an undercut to prevent tearing, then a clean cut to sever the branch, and finally a final cut to remove the stub.
Maintaining proper cutting angles encourages healthy regrowth. Aim for cuts just above a bud or outward-facing branch for optimal growth direction.
Striving for a balanced canopy is key. Avoid removing too much foliage from one side, which can destabilize the tree. Work your way from the top down, ensuring debris falls safely away from yourself and others.
Assessing Your Tree: Identifying Branches for Trimming
Knowing which branches need attention is crucial. Here are some telltale signs:
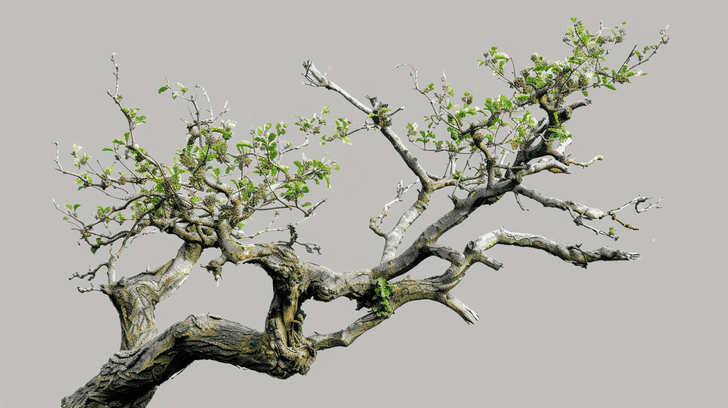
Dead, Diseased, or Dying Branches: These branches lack leaves, appear brittle, or have fungal growth. Removing them promotes overall tree health.
Rubbing Branches: Branches rubbing against each other can cause bark damage and disease. Thinning can prevent further issues.
Inward Growing Branches: These branches compete for resources with healthier branches and contribute to a cluttered canopy.
Suckers: These fast-growing shoots sprout from the base or roots and can drain energy from the main tree.
Branches Interfering with Power Lines or Structures: Never attempt to trim branches near power lines. Call a qualified professional for these situations.
Remember, the goal is to enhance the tree’s natural form, not create drastic changes.
Step-by-Step Trimming Guide
Before diving in, prepare your workspace. Clear debris from under the tree to create a safe working area. Designate a drop zone for branches away from yourself, structures, and anything else you want to protect.
Now you’re ready to begin!
Trimming Dead and Diseased Branches: Identify these branches by their lack of leaves, brittle texture, or presence of fungal growths (e.g., mushrooms, conks). Utilize the three-cut method for proper removal.
Make the first undercut 1-2 inches from the branch collar (the swollen area where the branch meets the trunk) to prevent tearing the bark.
The second cut severs the branch itself, a few inches further out from the undercut.
Finally, make a final cut just outside the branch collar to remove the remaining stub.
Thinning Out Crowded Branches: Excessive branches can restrict air circulation and sunlight penetration. Start by removing branches that rub against each other, focusing on the weaker or less desirable ones.
Prioritize removing inward-growing branches that compete for resources and contribute to a cluttered canopy. Remember, aim for a balanced look – avoid removing too many branches from one side, as this can destabilize the tree.
Raising the Canopy (if desired): This technique increases clearance under the tree, often for walkways or driveways. Start by removing the lowest branches, making sure to use proper cutting techniques.
Proceed upwards gradually, maintaining a natural-looking canopy. It’s crucial not to remove more than 25% of the tree’s canopy in one go, as this can stress the tree.
Cleaning Up and Proper Disposal of Debris: Once finished trimming, clear the work area of all branches and debris. Small branches can be chipped or composted, while larger ones may require municipal yard waste collection services. Be sure to check your local regulations for proper disposal methods.
Additional Considerations
Timing Your Trimming: The ideal time to trim trees varies depending on the species. Generally, late winter or early spring, when trees are dormant, is the recommended timeframe. Avoid trimming during hot, dry periods or when the tree is flowering or fruiting.
Tree Species and Specific Pruning Needs: Different tree species have unique pruning requirements. Research the specific needs of your tree to ensure proper care. Some trees may benefit from specific techniques like crown thinning or raising, while others may require minimal intervention.
Limitations of DIY Trimming: While smaller trees and basic trimming tasks can be tackled as a DIY project, know your limits. For larger, mature trees, complex cuts, situations near power lines, or if you lack confidence in your skills, it’s best to call in a certified arborist. They possess the expertise and equipment to handle these jobs safely and effectively.
Conclusion
Proper tree trimming is an investment in the health and beauty of your trees. By following these steps and prioritizing safety, you can take good care of your trees yourself.
Remember, the satisfaction of caring for your trees is rewarding, but safety should always be the top priority. If you’re unsure about any aspect of the process, don’t hesitate to consult a professional arborist.
There are also many helpful online resources and local workshops available to further your knowledge of tree care.
![How Much Does Tree Trimming Cost? [+Calculator]](https://abbeytreesurgeons.co.uk/wp-content/uploads/2024/03/how-much-does-tree-trimming-cost.png)